

OEM Yacht Steering Motors A Practical Guide to Reliable Marine Steering Performance
2026-11-16
A yacht's steering is one of those systems that rarely gets attention until conditions turn. OEM yacht steering motors have to do more than turn the rudder; they set the limits for helm feel, autopilot response, and low-speed control. This guide cuts through generic selection advice and focuses on what reliable marine steering performance actually demands. Drawing on Retek's experience in marine drive engineering, the following sections give you a practical way to evaluate, choose, and maintain steering motors that hold up when it matters.
Pinpointing the Right Steering Motor Size for Your Yacht's Rudder
Getting the steering motor size right has less to do with boat length than with the actual torque that can spike through the rudder stock when the helm goes hard over. A mid-sized cruising yacht can demand a surprisingly large drive if the rudder has deep chord, sits close to the propeller wash, or gets driven backwards by a quartering sea. Measure or estimate the maximum blade area, the rudder moment arm, and the highest speed you would ever use during a real course correction, then work out the torque from those. Calm-water numbers will undersell the loads that arrive when you need quick response during a broach or docking in a crosswind.
Once you have that baseline, convert it through the mechanical advantage of your quadrant, tiller arm, or hydraulic ram geometry. That step changes a rough hull-side calculation into the rotational load the motor must handle at the output shaft. A safety margin of roughly 40 percent tends to separate drives that only pass a bench test from ones that survive repeated autopilot corrections and occasional wave strikes. Also consider how long the motor can hold peak torque without overheating: short bursts are often fine, but wave-driven corrections can stack up faster than the thermal model suggests.
It is also worth checking how the drive behaves under back-feed and near the rudder stops. A motor that is too tightly matched may feel responsive on flat water but will struggle when the rudder is forced backward by a slamming sea or when the autopilot makes a series of abrupt small deflections. Slightly oversizing the drive while keeping a torque-limiting clutch or pressure relief in the system gives you the extra headroom without risking a bent quadrant. The goal is a motor that sits comfortably at continuous load and still has enough reserve to muscle the rudder over when it truly matters.
Why Duty Cycle Ratings Decide How Long a Motor Lasts
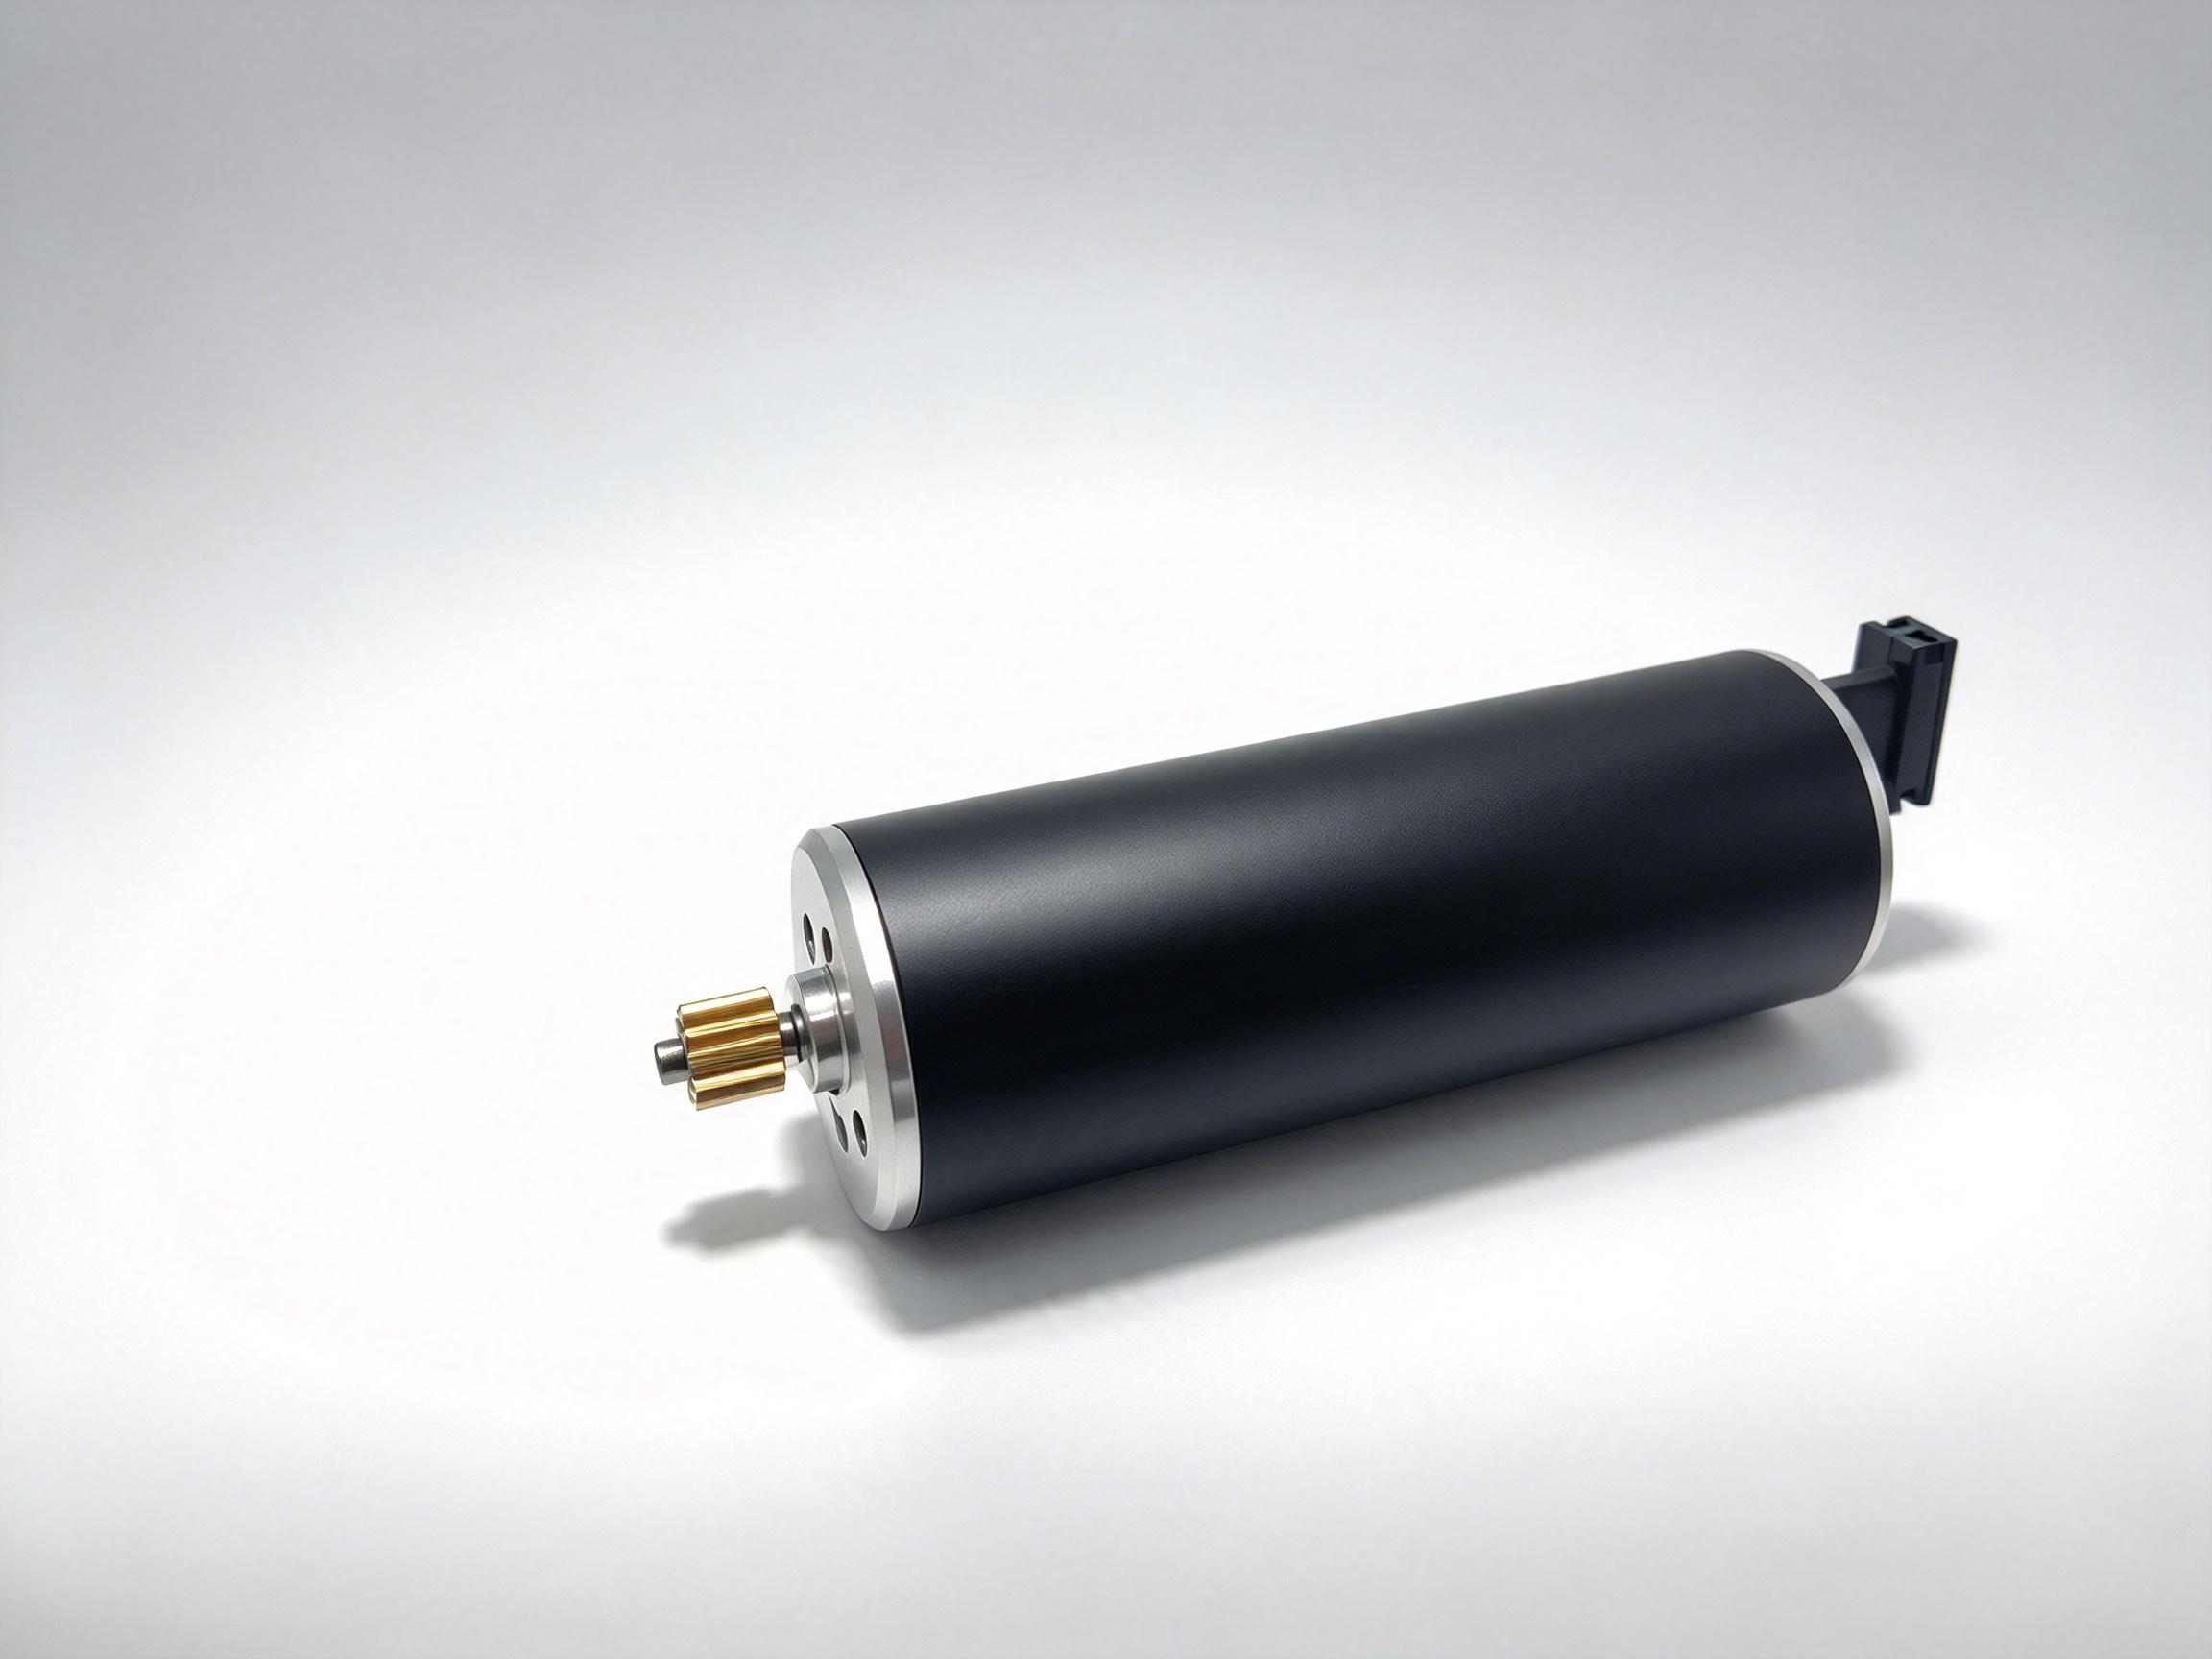
A motor's duty cycle rating is less a specification and more a survival manual. It tells you how long the windings can carry current before heat buildup begins to eat away at the insulation. Ignore that rating, and you are not just shortening the lifespan; you are inviting a thermal runaway that quietly transforms copper and varnish into a brittle, short-circuited mess.
What often gets overlooked is that intermittent operation is not automatically safer. Frequent starts and stops can be harder on a motor than continuous running, because inrush current spikes and uneven cooling cycles stress the stator and rotor joints. The duty cycle rating is the only honest map of those hidden stresses, translating a seemingly abstract S1 or S3 label into real minutes of safe work before the next mandatory rest.
In practice, matching the duty cycle to the actual load pattern matters more than oversizing the frame. A motor rated S2 for 30 minutes will fail far earlier in a conveyor that runs 45 minutes per cycle, even if the nameplate horsepower looks generous. Longevity, then, is not engineered into the metal alone; it is negotiated between the rating and the rhythm of the job.
Keeping Water Out of Steering Motor Installations from Day One
The best time to keep water out of a steering motor is before the boat ever gets wet. During the initial install, the mounting face tends to get less attention than the electrical connections, but it is where most slow leaks begin. Old gasket material, paint overspray, and even a thin film of corrosion can hold the housing slightly offset from the bracket. Cleaning that face back to clean metal or smooth fiberglass, then tightening the bolts in a cross pattern with a light, even sealant bead, does more for long-term dryness than adding extra sealant after a leak appears.
Cable entries are another early failure point. A drip loop placed just ahead of the gland allows water to fall away from the housing instead of traveling along the cable jacket. The gland should fit the cable snugly enough that the compression ring can bite evenly; too loose and it creates a funnel, too tight and the jacket can deform under vibration. Where the motor lives near the bilge or beneath a transom hatch, a simple raised base or splash shield keeps routine washdowns from blasting the seals directly.
A Practical Onboard Inspection Routine for Steering Systems
Onboard steering checks often get rushed, but a few deliberate habits can catch wear before it becomes a real problem at the helm. Start with the wheel itself: turn it slowly from lock to lock with the engine running and note whether the effort feels uneven or if there's any sticky spot. A smooth, consistent resistance is what you want. Any notchiness or a spot where the wheel seems to hesitate usually points to low fluid, air in the lines, or a pump that's starting to fade.
Next, listen while you turn. A whine that rises with engine speed is common on older hydraulic setups, but a groan that only appears when the wheel is held against the stop can indicate a tired relief valve or a slipping belt. On electric systems, pay attention to the steering angle sensor's behavior—jerky assist that comes and goes at low speeds often traces back to a dirty connector or a failing torque sensor, not the motor itself. A quick visual sweep of the reservoir, hoses, and rack boots takes less than a minute and can reveal seeping seals before they turn into a dry pump.
Finally, make the inspection part of your normal pre-trip or monthly routine rather than a separate chore. Tie it to something you already do, like checking oil or tire pressure. If you find the fluid level dropping more than a finger's width between checks, trace the leak—usually at the rack end seals or the pressure hose crimp. Catching these small clues early keeps a steering system predictable, and predictability is exactly what you want when you're halfway through a tight turn with no shoulder to spare.
Tracing Stiff or Delayed Steering Back to Its Real Cause
A stiff wheel rarely points to a single component; it usually emerges from a chain of small failures that have been ignored. Before replacing the pump or the rack, check the simplest variables: tire pressure on the front axle, fluid level in the reservoir, and the condition of the serpentine belt. Low pressure increases the contact patch and makes the wheel feel heavy at low speed, while a slipping belt can starve the pump at idle without ever making a sound. These may seem unrelated to steering, but they shape the baseline effort the system has to overcome.
Once the basics are ruled out, separate hydraulic from mechanical resistance. Turn the wheel with the front end lifted and the engine off; if the stiffness persists, the issue is in the column, intermediate shaft, or rack itself. If the wheel frees up with the engine running, the problem is likely on the supply side—a worn pump, a clogged filter, or degraded fluid that has lost its shear stability. Intermittent delay, especially after cold starts, often points to air trapped in the system or a failing pressure relief valve rather than a hard mechanical fault.
When the symptom only appears while driving, look beyond the steering gear. Binding strut mounts, a seized ball joint, or wrong alignment angles can create resistance that drivers describe as heavy or slow-returning steering. In electric systems, a weak battery or a corroded ground can reduce assist just enough to mimic a mechanical fault. The cause usually becomes obvious once you stop guessing and follow the load path from the tire contact patch back to the steering wheel.
Managing Voltage Drops and Heat in Heavy Steering Conditions
Heavy steering loads rarely announce themselves until the system starts to feel sluggish or the pump begins to whine under sustained effort. The first thing worth watching is the alternator's output at idle with the wheel held hard against the lock. A healthy charging system should hold at least 13.5 volts, but many vehicles dip into the low 12s when the electric power steering motor demands peak current. That gap between resting voltage and loaded voltage is where heat quietly builds inside harness connectors and relay contacts, gradually loosening what looks fine on a wiring diagram.
Rather than chasing the voltage number alone, pay attention to how quickly the system recovers after you release the wheel. A slow climb back to 14 volts often points to a marginal battery or a ground path that has developed resistance over years of corrosion and thermal cycling. On hydraulic setups, the heat story shows up differently: fluid that has oxidized turns darker and thickens, forcing the pump to work harder against its own viscosity. This raises fluid temperature well past the point where seals remain pliable, and once a seal starts seeping, the drop in system pressure gets mistaken for an electrical fault.
Shortening the duty cycle in parking maneuvers and avoiding prolonged full-lock holds keeps both electric and hydraulic systems from spending too long in their least efficient state. If you do need to diagnose a recurring overheat condition, run the engine at fast idle with the steering loaded and use an infrared thermometer on the pump body, reservoir, and the highest-current connector in the EPS circuit. Differences of more than 20 degrees Celsius between similar components usually mean one side is carrying extra resistance, and that resistance is the silent source of both voltage drop and localized heat damage.
FAQ
Focus on the continuous torque rating, duty cycle, and whether the seals and connectors are genuinely marine-rated. A motor that only lists peak output can overheat in a poorly ventilated engine room, so look for the rating at low speed under load. Compare the shaft dimensions, bolt pattern, and feedback signal type against your existing helm and rudder stock, because adapting mounts often leads to alignment problems later.
Most sealed units need an inspection every 12 months or every 200 running hours, whichever comes first. That generally means checking cable connections for corrosion, confirming the shaft seal is not leaking, and measuring current draw under load. If the boat lives in a hot or damp climate, shorten the electrical checks to every six months.
Stiffness at the helm is rarely the motor itself. Look first for air in a hydraulic line, a sticking check valve, or mechanical binding in the rudder stock. Low voltage at the motor terminals can also reduce steering assist without triggering a fault code, so measure voltage while the system is under load before replacing parts.
You can, as long as the mounting pattern, shaft taper, and torque range match the original unit. The bigger risk is integrating it with an existing autopilot or joystick system, because the control module may expect specific motor feedback signals. If you do switch brands, have the installer verify rudder feedback and end stops during the sea trial.
Electric systems are simpler to install and easier to troubleshoot, but an undersized unit can go into thermal protection during sustained heavy loads. Hydraulic setups handle continuous high torque more easily and often feel smoother at the wheel, but they add pumps, hoses, and fluid maintenance. The better choice depends more on vessel size and steering load than on brand preference.
Before departure, check terminal tightness, look for green corrosion on connectors, and run the steering hard over in both directions while listening for changes in motor pitch. During the passage, avoid holding the helm against the stops for long periods, because that overheats the motor and can trip the thermal protection. Carrying a spare drive belt or a bypass key for the autopilot is also worthwhile.
Watch for intermittent loss of assist, a burnt smell near the helm or rudder compartment, or a motor that runs hotter than usual after normal manoeuvring. A rise in current draw without an increase in load often points to worn brushes or degrading insulation, so it should be investigated before the unit quits.
Conclusion
Getting reliable steering from an OEM yacht motor starts long before installation. Matching motor size to rudder torque is not just about peak load; a unit that looks powerful on paper can struggle if the duty cycle is misread. The duty rating really dictates how long the motor holds up under continuous corrections, especially in rough water where short, repeated inputs build heat quickly. Pairing that with careful sealing from day one matters just as much, because water intrusion through cable glands, deck fittings, or breather vents often causes slow failures that no amount of torque can overcome. A motor chosen around realistic rudder loads, run within its rated duty window, and installed with dry, serviceable connections tends to outlast a higher-spec unit that ignores those basics.
Onboard, the real work is catching small problems before they become steering failures. A practical inspection routine should look beyond the motor itself to linkage friction, uneven rudder stock wear, and stiff mechanical components, since those are common hidden causes of delayed or heavy helm response. When voltage sags under load, the motor pulls more current and temperatures climb, so checking terminal tightness, cable sizing, and ventilation during sea trials is far more useful than relying on dock-side testing alone. If steering feels stiff or slow, tracing the symptom back through the full circuit, not just replacing the motor, usually reveals whether the issue is mechanical binding, a tired pump, or simply not enough clean power reaching the drive. In practice, an OEM motor that is sized honestly, kept dry, inspected routinely, and fed with stable voltage will deliver predictable performance season after season.
Contact Us
Contact Person: Sean
Email: [email protected]
Tel/WhatsApp: +86-13338694967
Website: https://www.retekmotion.com