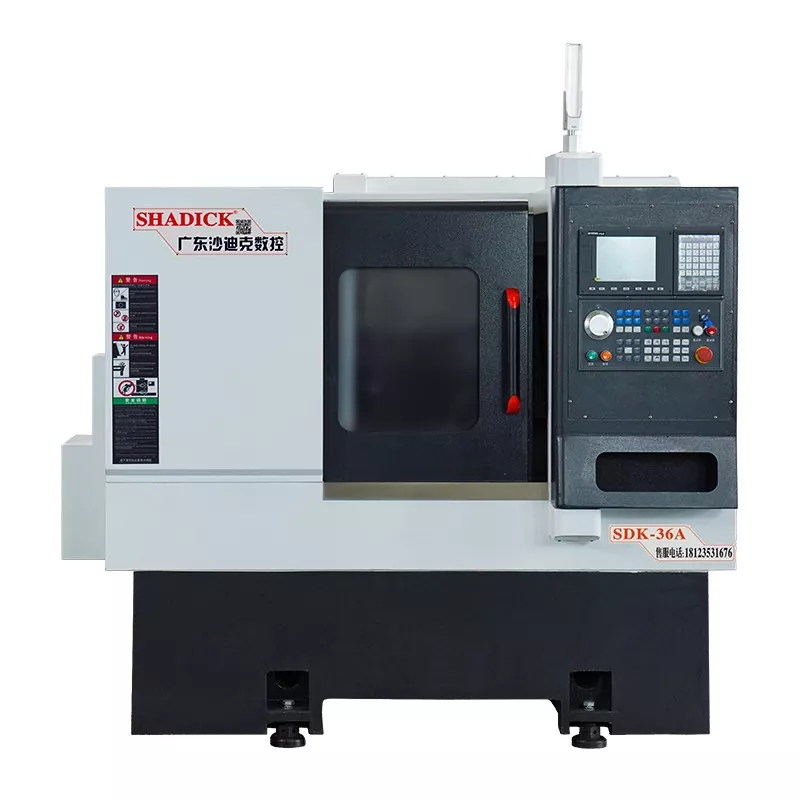
Row Tool CNC Machine Tools: How to Calibrate Machine Tool Clearance
2025-06-20
Calibrating machine tool clearance is a critical aspect of maintaining precision and performance in Row Tool CNC (Computer Numerical Control) machine tools. Accurate clearance settings ensure that the mechanical components of the machine function smoothly without excessive wear or operational errors. Improper clearance can lead to vibration, misalignment, reduced accuracy, or even mechanical failure. This essay outlines the process of calibrating machine tool clearance in Row Tool CNC machines, emphasizing preparation, procedures, and maintenance tips.
Importance of Clearance Calibration
Machine tool clearance refers to the controlled gap between moving parts—such as guideways, ball screws, and spindle components—to prevent contact under normal operation. In CNC machinery, where tolerances are often within microns, even a slight deviation in clearance can compromise the quality of the final product. Proper clearance calibration enhances tool longevity, machining accuracy, and overall operational stability.
Preparation for Calibration
Before starting the calibration process, it is essential to ensure that the CNC machine is clean and free of debris. Accumulated chips, oil, or dust can distort measurements. The machine should be powered down and locked out to prevent accidental movement. Calibrating clearance also requires precision tools such as dial indicators, feeler gauges, micrometers, and laser alignment systems, depending on the type of clearance being checked.
Calibration Procedures
Check Manufacturer’s Specifications
Each Row Tool CNC model has its own set of clearance tolerances. Refer to the technical manual to understand acceptable clearance ranges for different axes and components.
Axis Clearance Calibration
Use a dial indicator to measure backlash or clearance in the X, Y, and Z axes. Move the machine slightly and check for lag in the indicator's needle. If backlash exceeds specified tolerances, adjust the ball screw nuts or compensation parameters in the CNC controller.
Spindle Clearance Inspection
Inspect the spindle bearings for play using a micrometer or dial gauge. Excessive spindle clearance can lead to chatter and poor surface finishes. If necessary, tighten the bearings or replace them if worn out.
Guideway and Slide Calibration
Measure the clearance between the guideways and sliding components using feeler gauges. If uneven clearance is detected, adjust the gib screws or wear strips to restore proper contact.

Thermal Compensation
Account for thermal expansion, especially in high-precision operations. Some Row Tool machines come with temperature sensors that adjust clearance automatically, but manual machines may need additional consideration during calibration.
Controller Compensation Settings
Modern Row Tool CNC machines often allow digital backlash compensation through the CNC interface. After physical adjustments, fine-tune software parameters to optimize machine performance.
Maintenance Tips
To keep clearance within optimal range, regular maintenance is crucial. Lubrication should be performed as scheduled, and worn components must be replaced promptly. Periodic calibration—monthly for high-precision applications or quarterly for general use—ensures consistent output quality.
Conclusion
Calibrating machine tool clearance in Row Tool CNC machines is an essential practice that contributes directly to machining accuracy, operational efficiency, and equipment longevity. While the process requires attention to detail and technical knowledge, following the manufacturer's guidelines and using proper tools can make calibration a manageable and worthwhile task. With regular checks and adjustments, CNC operators can ensure their machines remain in peak condition for high-performance production.
As a professional manufacturer and supplier, we provide high-quality products. If you are interested in our products or have any questions, please feel free to contact us.